ZFS for Mac Storage and Time Machine
It is possible to configure your OpenIndiana system to operate as a file server for your Mac using the AFP protocol, and if you
have lots of lovely ZFS storage attached then it makes lots of sense. You can also
configure OpenIndiana to act as as Time Capsule for your Mac's Time Machine!
The instructions below relate to OpenIndiana oi_151, and Apple Mac OSX Snow Leopard,
however the procedure is probably much the same for all OpenIndiana versions. The
Time Machine configuration does not work yet for Apple Mac OSX Lion, when I figure
this out I will post the details.
Configuring OpenIndiana as an AFP File Server
First you need to install the pre-requisites for building Netatalk on OpenIndiana.
You need gcc and BerkelyDB -
$ sudo pkg install gcc-dev
You can download Berkeley DB from here. There are reported issues with version 5 and Netatalk, and so I used the latest
4.8 release. You then need to build and install Berkeley DB -
$ tar zxvf db-4.8.30.tar.gz
$ cd db-4.8.30/build_unix
$ ../dist/configure --prefix=/usr/local
$ make
$ sudo make install
Netatalk is a software package that acts as an AFP server. You can download Netatalk
from here. You then need to build and install Netatalk -
$ tar xvjf netatalk-2.1.5.tar.bz2
$ cd netatalk-2.1.5
$ ./configure
$ make
$ sudo make install
After the install, Netatalk will be configured to share each users home folder. If
you have additional folders that you wish to share with all users via. AFP you need
to add them to /usr/local/etc/netatalk/AppleVolumes.default. I added these entries
for my system -
/thevault/private/%u Private allow:@vusers
/thevault/public Public allow:@vusers
/thevault/timemachine TimeMachine allow:aretter
If you have different requirements for different Users then you can copy /usr/local/etc/netatalk/AppleVolumes.default
to a Users home folder as AppleVolumes or .AppleVolumes and override the share settings
for the user there.
If you want your AFP File Server to be auto-magically found via Apple's Bonjour service,
you need to configure an Avahi service, this is done by creating the file /etc/avahi/services/afpd.service
-
<?xml version="1.0" encoding="UTF-8"?>
<!DOCTYPE service-group SYSTEM "avahi-service.dtd">
<service-group>
    <name replace-wildcards="yes">%h</name>
    <service>
        <type>_afpovertcp._tcp</type>
        <port>548</port>
    </service>
    <service>
        <type>_device-info._tcp</type>
        <port>0</port>
        <txt-record>model=Xserve</txt-record>
    </service>
</service-group>
You now need to enable the Netatalk service and also the Avahi service, if you configured
it above. Avahi also requires the Multicast DNS service -
$ sudo svcadm enable dns/multicast:default
$ sudo svcadm enable system/avahi-bridge-dsd:default

$ sudo /etc/rc2.d/S90netatalk start
Configuring TimeMachine on the Mac
If you created a TimeMachine AFP share above and wish to use your OpenIndiana server
as a TimeCapsule also, then firstly you have to tell the Mac to allow unsupported
network volumes for Time Machine. This can be done from the Terminal.app thusly -
$ defaults write com.apple.systempreferences TMShowUnsupportedNetworkVolumes 1
You need to create a sparse disk image file, which will be used for the content of
the TimeMachine backups. This can be done with the Terminal.app. The naming of the
disk image is quite specific and should be of the form hostname_MACaddress.sparsebundle. e.g. -
Find your hostname -
$ hostname
hollowcore
Find your MAC Address -
$ ifconfig
en1: flags=8863<UP,BROADCAST,SMART,RUNNING,SIMPLEX,MULTICAST> mtu 1500
    ether 90:27:e4:ea:7b:d4
    inet6 fe80::9227:e4ff:feea:7bd4%en1 prefixlen 64 scopeid 0x4
    inet 172.16.16.2 netmask 0xffffff00 broadcast 172.16.16.255
    media: autoselect
    status: active
</xh:pre>
Now substituting your own Hostname in place of 'hollowcore' and your own MAC Address
in place of '9027e4ea7bd4' -
$ hdiutil create -size 300g -type SPARSEBUNDLE -fs JHFS+ -volname 'Backup of hollowcore' hollowcore_9027e4ea7bd4.sparsebundle
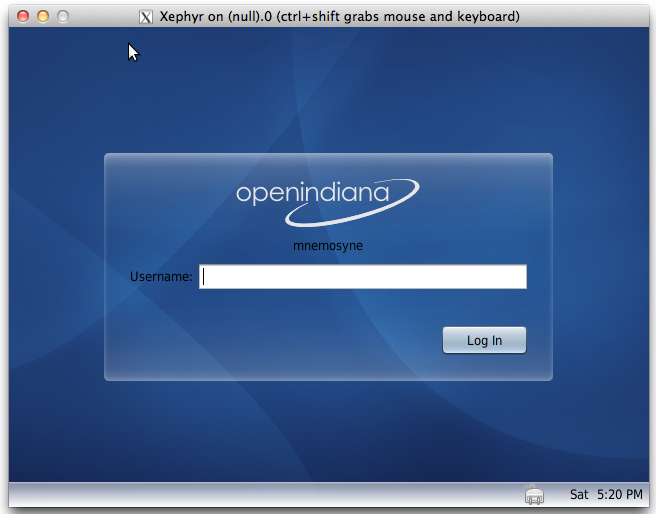
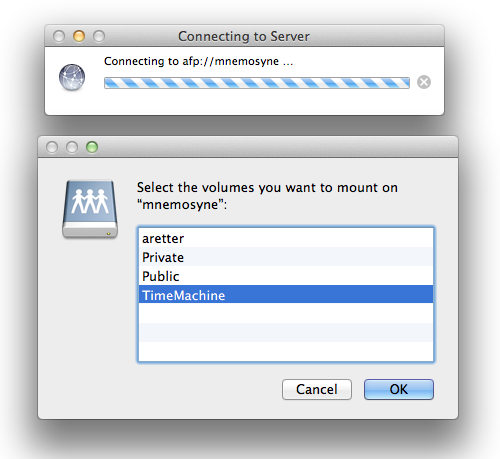 You should now mount your Time Machine share through the Finder by clicking Go ->
Connect to Server... Entering afp://your-openindiana-hostname-here and then selecting
the 'TimeMachine' share. You now need to copy the above Image file that you created
to the mounted share.
You should now mount your Time Machine share through the Finder by clicking Go ->
Connect to Server... Entering afp://your-openindiana-hostname-here and then selecting
the 'TimeMachine' share. You now need to copy the above Image file that you created
to the mounted share.
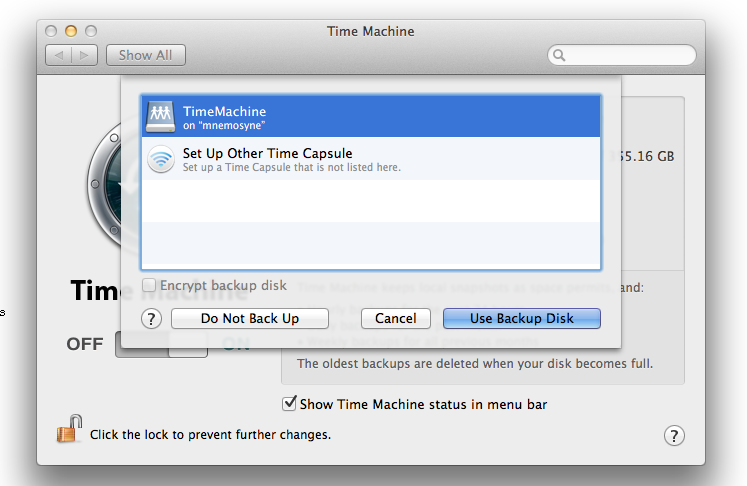 You can now launch TimeMachine, click 'Select Disk', wait for the mounted 'TimeMachine'
share to appear and then click 'Use Backup Disk'.
You can now launch TimeMachine, click 'Select Disk', wait for the mounted 'TimeMachine'
share to appear and then click 'Use Backup Disk'.
Adam Retter posted on Saturday, 23rd July 2011 at 15.57 (GMT+02:00)
Updated: Saturday, 23rd 2011 at July 15.57 (GMT+02:00)
tags: OpenIndianaMacOSXTime MachineAFPNetatalkAvahiSolaris
|